

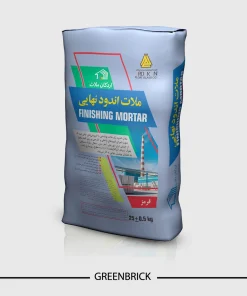
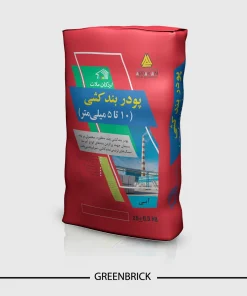


Examples of projects executed with dry mortar and construction adhesives:
Advantages of dry mortar and construction adhesives
Advantages of dry mortar
- Superior quality: Dry mortar is produced in fully controlled factory conditions using high‑quality raw materials. This significantly enhances the final quality and performance of the mortar.
- Reduced material waste: In traditional mortars, manual mixing leads to high material waste. In dry mortar, all materials are precisely measured and packaged, so waste is minimized.
- Increased execution speed: Dry mortar is quickly and easily mixed with water. This greatly speeds up work execution, saving time and costs.
- Reduced site waste: Dry mortar is transported to the site only in the required amount, so waste from spoilage or drying on site is eliminated.
- Reduced labor requirements: Using dry mortar significantly reduces the need for specialized labor.
- Increased safety: Dry mortar generates less dust than traditional mortars, providing safer working conditions for workers.
- Environmentally friendly: Dry mortar produces less waste and pollution than traditional mortars, making it an environmentally friendly product.
- Versatility: There are various types of dry mortar for different applications such as masonry, plastering, flooring, and tiling.
Disadvantages of dry mortar
- Initial cost: The price of dry mortar is slightly higher compared to traditional mortars.
- Need for clean water: Clean, salt‑free water must be used when mixing dry mortar.
- No correction possible: If a mistake is made in mixing dry mortar, it cannot be corrected.
Applications of dry mortar
- Masonry: Dry mortar can be used for wall building, block laying, and brick laying.
- Plastering: Dry mortar can be used for interior and exterior plastering of buildings.
- Flooring: Dry mortar is used for installing various floor coverings such as ceramic tiles, tiles, and stone.
- Tiling: Dry mortar is used for installing ceramic tiles and tiles on walls and floors.
- Plumbing and utilities: Dry mortar can be used to fill voids around pipes and utility connections.
How to use dry mortar
- Clean and moisten the surface to be worked.
- Open the dry mortar bag and pour the contents into a suitable container.
- Add a specified amount of clean water to the mortar.
- Mix thoroughly with a trowel or mixer until uniform.
- Use the prepared mortar within a maximum of 30 minutes.
- After finishing, wash tools and surfaces with clean water.
Important notes
- Carefully follow the instructions provided by the dry mortar manufacturer.
- Store dry mortar in a dry, cool place.
- Do not use spoiled or expired dry mortar.
Frequently Asked Questions
Dry mortar is a ready‑made mixture of cement, sand, polymer additives, and minerals produced in a factory.
Unlike traditional mortar mixed on site, dry mortar has uniform quality, higher adhesion, and faster application time.
Yes, dry mortar is packaged as a ready‑to‑mix powder. At the project site, you only need to add a specified amount of water to obtain workable mortar.
Dry mortar is used for wall construction, facade work, pointing, tiling, flooring, and surface repair.
Construction adhesives include various types:
-
Tile adhesive (powder and paste)
-
Stone facade adhesive
-
Lightweight block (AAC) adhesive
-
Waterproof and thermal insulation adhesive
each designed for specific applications.
-
Powder adhesive: Cement‑based, mixed with water; suitable for cementitious surfaces and floor tiles.
-
Paste adhesive: Ready to use, suitable for installing tiles on gypsum plaster walls or smooth surfaces.
Yes, many products contain moisture‑resistant and anti‑fungal additives.
For humid environments such as bathrooms, swimming pools, or kitchens, use a waterproof or water‑resistant type.
Depending on the product, initial setting time is about 2 to 4 hours and final setting is between 24 and 48 hours.